Getting Started with ROS 2
An actually good guide to getting started with ROS 2.
Nov 07, 2022In this post, I’m going to provide some straight-forward pointers for getting started using ROS 2.
There’s a minimal repository with the code from this post here.
Introduction
I recently started a new job which involves me working on the Stretch robot from Hello Robots. Since my background is principally in machine learning and not robotics, this is my first time using ROS. However, when I searched for “ROS 2 API” or “How to use ROS 2” or “Getting Started with ROS 2” most of the sites I found looked like they had been insanely SEO’d to the point of being unusable. To wit, I figured I would document my progress as I am learning so that others who may be making the same transition might benefit as well.
What this Post Covers
In this blog post I hope to do the following:
- Provide a simple on-boarding guide for ROS 2
- I’m going to be somewhat opinionated about the “right” way to do things (mostly based on my background in building other types of software) so I may leave out some alternative approaches, but I’ll try to be very thorough in describing how to do things
- Make a searchable reference for how to do simple things
- Provide some more in-depth technical explanations for how different ROS components work, and why they work that way
- This is more because I think it’s important to understand the inner workings of things in order to debug and optimize them, but I’ll try to structure the post in such a way that these parts are easy to skip over if you just want to get started building something.
If I miss anything, please leave a comment (note that the commenting tool requires a Github account).
What this Post Doesn’t Cover
In this post I won’t be covering:
- The original version of ROS (it’s on the way towards no longer being supported)
- Python stuff (I’m assuming a basic level of familiarity with Python, Anaconda, version control, and other stuff like that)
- Networking stuff (there isn’t too much involved, but debugging networking issues with teleop will be out-of-scope)
Getting Started
Throughout this post, I will be using RoboStack, which is a way of installing ROS as a Conda bundle. This makes it easier to manage multiple versions of ROS and install new packages.
- I’ll assume you have Miniconda installed somewhere on your system - if not, install it from here.
- I’m running this on my Mac M1 machine, which is monotonically worse for ROS than using Ubuntu, meaning that any command that works in this tutorial will work with an Ubuntu machine, but not the other way around.
Create a New Conda Environment
# Robostack's ROS 2 Humble channel only works with Python 3.9.
# Galactic can work with either version.
conda create --name ros-blog-post python=3.9
conda activate ros-blog-post
Install Mamba
conda install -c conda-forge mamba
Mamba is a drop-in replacement for the Conda CLI which is a lot faster and makes working with Conda packages a lot easier.
If you want to avoid adding specific Conda channels, such as
-c conda-forge, you can add them to your~/.condarcfile usingconda config --add channels conda-forge. Then you can just do something likeconda install mambaand it will look in theconda-forgechannel automatically. In particular for this post I suggest adding therobostack-humblechannel if you plan on using ROS 2 Humble.
Install the Humble distro of ROS 2
Following the installation instructions here:
# Install Humble distro.
mamba install \
  -c robostack-humble \
  -c conda-forge \
  spdlog=1.9.2 \
  foonathan-memory=0.7.2 \
  ros-humble-desktop

# These are the instructions to install the Galactic
# distro, which worked fine for me on an Ubuntu machine
# but failed on my M1 Mac.
mamba install \
  -c robostack-experimental \
  ros-galactic-desktop
Note that installing ROS 2 this way adds some scripts to the directory in ${CONDA_PREFIX}/etc/conda/activate.d/. These set some environment variables which are important. In order to get these scripts to run, you have to restart your Conda environment, like so:
conda deactivate
conda activate ros-blog-post
Install Colcon
ROS 2 packages are built using colcon, so you will need to install it as well:
mamba install \
  -c conda-forge \
  colcon-core \
  colcon-common-extensions
Check that Installation Succeeeded
You can double-check that the installation was successful by running the dummy programs. In one terminal session, run:
ros2 run demo_nodes_cpp talker
If everything was installed correctly, you should see something like this:
[INFO] [1667791882.591136612] [talker]: Publishing: 'Hello World: 1'
[INFO] [1667791883.591488073] [talker]: Publishing: 'Hello World: 2'
[INFO] [1667791884.595503927] [talker]: Publishing: 'Hello World: 3'
[INFO] [1667791885.591661410] [talker]: Publishing: 'Hello World: 4'
[INFO] [1667791886.593317378] [talker]: Publishing: 'Hello World: 5'
In another terminal session, run:
ros2 run demo_nodes_cpp listener
If everything worked as expected, you should see something like this:
[INFO] [1667791947.122910896] [listener]: I heard: [Hello World: 13]
[INFO] [1667791948.122430228] [listener]: I heard: [Hello World: 14]
[INFO] [1667791949.123189150] [listener]: I heard: [Hello World: 15]
[INFO] [1667791950.119661010] [listener]: I heard: [Hello World: 16]
[INFO] [1667791951.121229768] [listener]: I heard: [Hello World: 17]
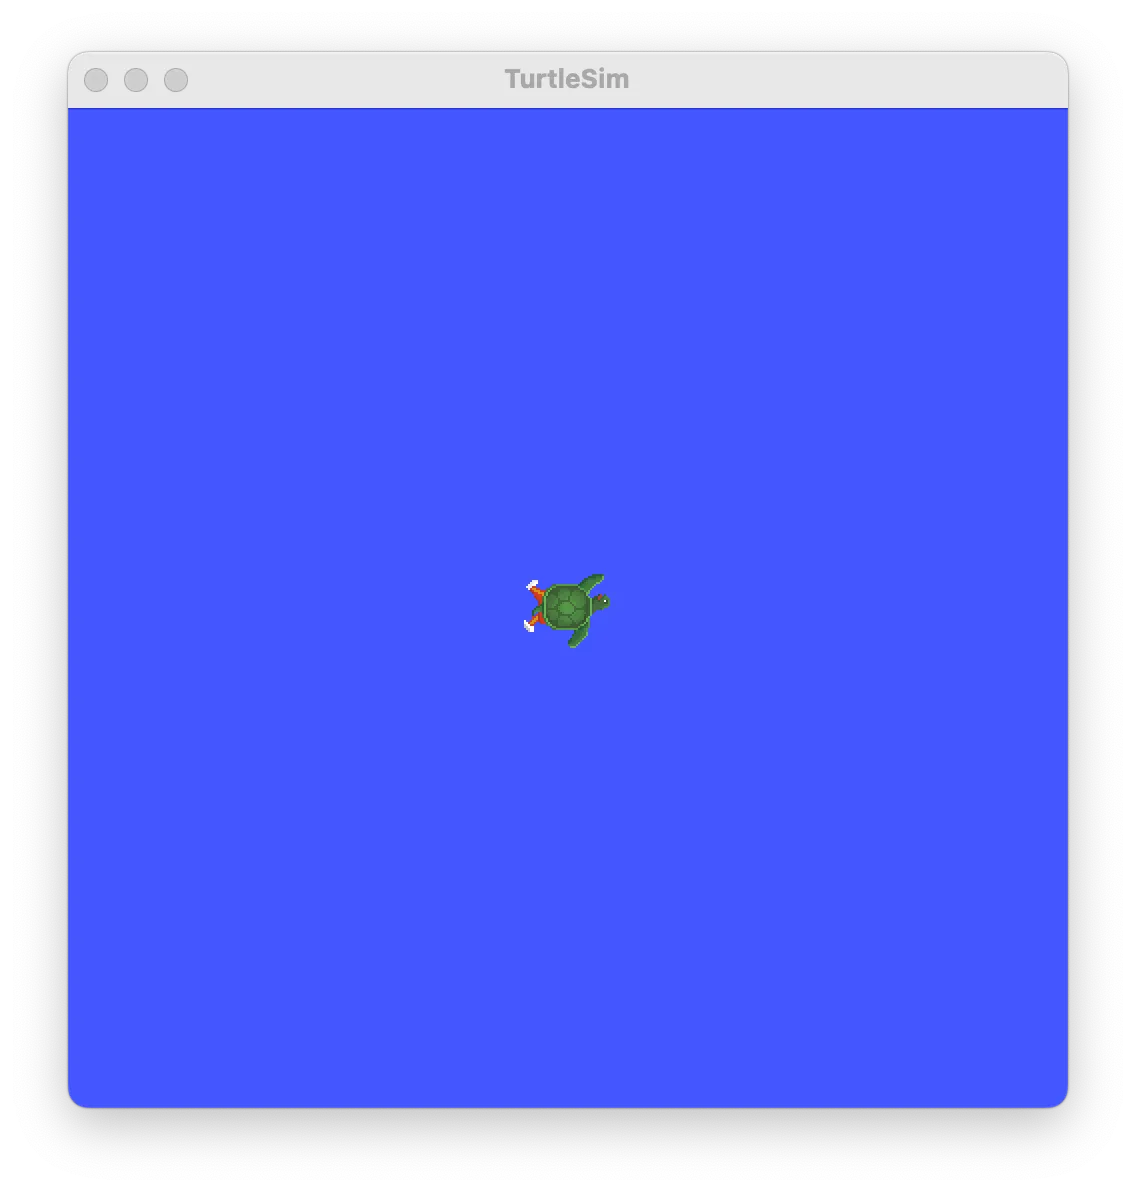
Turtlesim
The introductory ROS node is Turtlesim. To get started, simply run
ros2 run turtlesim turtlesim_node
If you are running this on your local machine, it should pop up a window that looks like this:
The command above starts a new node which manages the window. In another terminal, start another node which takes keyboard inputs and communicates with the associated topics and actions on the first node:
ros2 run turtlesim turtle_teleop_key
You can also directly call a topic by using the command below:
ros2 topic pub /turtle1/cmd_vel geometry_msgs/msg/Twist "{linear: {x: 1.0}, angular: {z: -3.1415926535}}"
If everything is working as expected, this should make the turtle spin around in circles on your screen.
Writing a Custom Node
Let’s write a new node to interact with the Turtlesim node. First, let’s create a new workspace somewhere:
mkdir ros-blog-post
cd ros-blog-post
git init .
Next, create a new package using the command:
ros2 pkg create --build-type ament_python custom_turtlesim
If you run the tree command (if it’s not installed, see these instructions), you should get a directory structure that looks like this:
$ tree
.
└── custom_turtlesim
    ├── custom_turtlesim
    │   └── __init__.py
    ├── package.xml
    ├── resource
    │   └── custom_turtlesim
    ├── setup.cfg
    ├── setup.py
    └── test
        ├── test_copyright.py
        ├── test_flake8.py
        └── test_pep257.py
Next, create a new file in custom_turtlesim/custom_turtlesim/controller.py and add the following:
import math
from typing import List, Optional

import rclpy
from geometry_msgs.msg import Twist
from rclpy.node import Node


class TurtlesimController(Node):
    def __init__(self, run_every_n_seconds: float = 0.5, queue_size: int = 10) -> None:
        """Defines a simple controller for Turtlesim.

        Args:
            run_every_n_seconds: Run the publisher every N seconds
            queue_size: The number of messages to queue up if the subscriber
                is not receiving them fast enough; this is a quality-of-service
                setting in ROS
        """

        super().__init__(node_name="turtle_sim_controller")

        self.turtle_pub = self.create_publisher(Twist, "/turtle1/cmd_vel", qos_profile=queue_size)
        self.timer = self.create_timer(run_every_n_seconds, self.timer_callback)

    def timer_callback(self) -> None:
        """Defines a callback which is called every time the timer spins."""

        msg = Twist()
        msg.linear.x = 1.0
        msg.angular.z = math.pi
        self.turtle_pub.publish(msg)
        self.get_logger().info("Published a message")


def run_turtlesim_controller(args: Optional[List[str]] = None) -> None:
    rclpy.init(args=args)

    controller = TurtlesimController()

    try:
        rclpy.spin(controller)
    finally:
        controller.destroy_node()
        rclpy.shutdown()


if __name__ == "__main__":
    run_turtlesim_controller()
Running the Custom Node
Next, let’s run the node that we’ve written.
Ad-hoc
There are two ways to run this. The simplest is to simply run the Python script directly:
# Run the script.
python custom_turtlesim/custom_turtlesim/controller.py

# Run as a module.
cd custom_turtlesim/
python -m custom_turtlesim.controller
This way you can do quick debugging without having to rebuild your entire package
Full Build
When you’re done debugging your controller, you can build the whole package and add it to your environment.
Add the run_turtlesim_controller function as an entry point in the file custom_turtlesim/setup.py:
entry_points={
    "console_scripts": [
        "controller = custom_turtlesim.controller:run_turtlesim_controller",
    ],
},
From your root ros-blog-post/ directory, build the package by running:
colcon build
Now your directory tree should look something like this:
$ tree -L 1
.
├── build
├── custom_turtlesim
├── install
└── log
Install the newly-built package:
. install/setup.bash  # If using bash
. install/setup.zsh   # If using zsh
Finally, you can run your service using:
ros2 run custom_turtlesim controller
You can run the auto-generated tests using
colcon test
Network Teleop
This part will require having two machines, which I’ll call the host and client. The host is going to be running the main Turtlesim node, while the client is going to run our custom controller. On the host, run
ros2 run turtlesim turtlesim_node
You should be able to see the standard view of the turtle. Next, in a different terminal, get the host hostname:
ROS_HOSTNAME=$(hostname)
Example output
Next, from the client, make sure you can ping the host hostname (note that this requires being on the same network):
export ROS_HOSTNAME=<hostname-from-host>
ping $ROS_HOSTNAME
Example output
If you were able to ping from the client to the host successfully, then after setting the $ROS_HOSTNAME environment variable, you can just run the custom node:
python -m custom_turtlesim.controller
Terminology
Package
A package in ROS is a collection of code, much like a Python or C++ package.
To create a new Python package:
ros2 pkg create --build-type ament_python <package-name>
To create a new C++ package:
ros2 pkg create --build-type ament_cmake <package-name>
To prepopulate with a starter node, you can add the command line argument --node-name <node-name>
To list all currently-installed packages, run:
ros2 pkg list
package.xml
All ROS packages include a package.xml file which contains meta information about the package. However, when using RoboStack as your dependency manager, you can more or less ignore it.
Node
A node in ROS is a process that performs some computation - basically an executable. They communicate with each other using topics, services and actions. You can list running nodes using
ros2 node list
You can print out info about a particular running node using
ros2 node info <node-name>
Sample output when I run the above command:
$ ros2 node info /turtlesim
/turtlesim
  Subscribers:
    /parameter_events: rcl_interfaces/msg/ParameterEvent
    /turtle1/cmd_vel: geometry_msgs/msg/Twist
  Publishers:
    /parameter_events: rcl_interfaces/msg/ParameterEvent
    /rosout: rcl_interfaces/msg/Log
    /turtle1/color_sensor: turtlesim/msg/Color
    /turtle1/pose: turtlesim/msg/Pose
  Service Servers:
    /clear: std_srvs/srv/Empty
    /kill: turtlesim/srv/Kill
    /reset: std_srvs/srv/Empty
    /spawn: turtlesim/srv/Spawn
    /turtle1/set_pen: turtlesim/srv/SetPen
    /turtle1/teleport_absolute: turtlesim/srv/TeleportAbsolute
    /turtle1/teleport_relative: turtlesim/srv/TeleportRelative
    /turtlesim/describe_parameters: rcl_interfaces/srv/DescribeParameters
    /turtlesim/get_parameter_types: rcl_interfaces/srv/GetParameterTypes
    /turtlesim/get_parameters: rcl_interfaces/srv/GetParameters
    /turtlesim/list_parameters: rcl_interfaces/srv/ListParameters
    /turtlesim/set_parameters: rcl_interfaces/srv/SetParameters
    /turtlesim/set_parameters_atomically: rcl_interfaces/srv/SetParametersAtomically
  Service Clients:

Action Servers:
/turtle1/rotate_absolute: turtlesim/action/RotateAbsolute
Action Clients:
How do nodes work?
The official documentation here covers this pretty well. Essentially:
- There are different client library implementations for different languages; the most popular are
rclcppandrclpy - Here is the Python client library implementation
- When started, a node will tell the other nodes on the system about itself, and receive in response information about each of those nodes
- There are different middleware implementations which actually handle communicating between nodes; the interface for these is abstracted by the ROS messages API
Topic
A topic in ROS is a way for nodes to send messages to each other using publish/subscribe semantics. A node will publish a topic, which can then be subscribed to by other nodes. You can list available topics using:
ros2 topic list
To show the topic type, you can use:
ros2 topic list --show-types
ros2 topic list -t  # Shorthand
Sample output when I run the above command:
$ ros2 topic list --show-types
/parameter_events [rcl_interfaces/msg/ParameterEvent]
/rosout [rcl_interfaces/msg/Log]
/turtle1/cmd_vel [geometry_msgs/msg/Twist]
/turtle1/color_sensor [turtlesim/msg/Color]
/turtle1/pose [turtlesim/msg/Pose]
To send a message to a topic from the command line, you can use the command:
ros2 topic pub <topic-name> <message-type>
Some useful command-line flags:
-r/--rate <rate>publishes this many times per second-t/--times <times>only runs this many times
Sample command for communicating with the node:
ros2 topic pub -r 0.5 /turtle1/cmd_vel geometry_msgs/msg/Twist "{linear: {x: 2.0, y: 0.0, z: 0.0}, angular: {x: 0.0, y: 0.0, z: -3.1415926535}}"
Messages
A message is just a type of topic, which tells ROS what kind of data is being passed around. This is so that data can be encoded and decoded correctly.
- You can see some example messages here
Service
A service in ROS is a way for nodes to communicate with each other using call-and-response semantics. A node will send a request to another node, and receive a response in return. You can list available services using:
ros2 service list
Sample output when running turtlesim_node
$ ros2 service list
/clear
/kill
/reset
/spawn
/turtle1/set_pen
/turtle1/teleport_absolute
/turtle1/teleport_relative
/turtlesim/describe_parameters
/turtlesim/get_parameter_types
/turtlesim/get_parameters
/turtlesim/list_parameters
/turtlesim/set_parameters
/turtlesim/set_parameters_atomically
Bag
A bag in ROS is just a recording of a session.
Action
A action in ROS has three parts:
- Goal: A service which can be called to kick off the action
- Feedback: A topic which lets the actor give constant feedback to the controller
- Result: A long-running service which ultimately sends a response when the action has finished
Actions are essentially services which can be pre-empted. You can list available actions using:
ros2 action list
Sample output when running turtlesim_node
$ ros2 action list
/turtle1/rotate_absolute
run
ros2 run is used to run a single executable (simply a node). This can be invoked using:
ros2 run <package-name> <node-name>
For example, to run Turtlesim, use:
ros2 run turtlesim turtlesim_node
This will then print the logged output from the running process.
Sometimes you might get an error message like this:
Package '<package-name>' not found
In this case, you can check if your package is installed by using:
ros2 pkg list | grep <package-name>
launch
ros2 launch is used to run multiple nodes at once, as defined by a launch file. A launch file can be written in Python, XML or YAML. For example, you can create a launch file in Python that looks like this:
import launch_ros.actions
from launch import LaunchDescription


def generate_launch_description() -> LaunchDescription:
    return LaunchDescription(
        [
            launch_ros.actions.Node(
                namespace="turtlesim1",
                package="turtlesim",
                executable="turtlesim_node",
                output="screen",
            ),
            launch_ros.actions.Node(
                namespace="turtlesim2",
                package="turtlesim",
                executable="turtlesim_node",
                output="screen",
            ),
        ]
    )
If you save this somewhere (for example, launch_turtlesim.py) you can then run it using:
ros2 launch launch_turtlesim.py
In another terminal, you can then see two running Turtlesim nodes, each in their own respective namespace:
$ ros2 node list
/turtlesim1/turtlesim
/turtlesim2/turtlesim
colcon
Colcon is the command line tool that ROS uses for building and testing. To build a Colcon project, you can run:
colcon build
This looks at each subdirectory in whichever directory you’re in, checks if it is a ROS directory, and if so builds it. There are additional command-line options for choosing which subdirectories to include and ignore, such as:
--packages-select <pkg-1> (<pkg-2> ...)Include these packages--package-skip <pkg-1> (<pkg-2> ...)Skip these packages
To run Colcon tests, you can use:
colcon test
After finishing, you can see any failures by running:
colcon test-result            # To show the test result summary files
colcon test-result --verbose  # To show all errors
ament / catkin
Ament and Catkin are build tools for ROS. Catkin was used for ROS 1, Ament has been used for ROS 2. Both have been superseded by Colcon (see here and here).
Gazebo
Gazebo is a simulator package which interacts nicely with ROS.
- Tutorial on integrating Gazebo with ROS 2
Cheat Sheet
Here’s a reference ROS 2 command cheat sheet.
| Base Command | Command | Description |
|---|---|---|
action | info | Output information about an action |
list | Output a list of action names | |
list -t | List actions with types | |
send_goal | Send an action goal | |
bag | info | Output information of a bag |
play | Play a bag | |
record | Record a bag | |
launch | Run a launch file | |
node | info | Output information about a node |
list | Output a list of available nodes | |
pkg | create | Create a new package |
executables | Output a list of executables in a package | |
list | Output a list of available packages | |
run | Run an executable in a given package | |
service | call | Call a service manually |
find | Output a list of services of a given type | |
list | Output a list of service names | |
type | Output a service’s type | |
test | Run launch test | |
topic | bw | Show bandwidth usage for a topic |
delay | Display delay of topic from timestamp in header | |
echo | Output messages of a given topic | |
find | Find topics of a given type | |
hz | Get publishing rate of a topic | |
info | Output information about a topic | |
list | Output list of active topics | |
pub | Publish data to a topic | |
type | Output type of a topic |
More Resources
Some other resources that I found helpful are listed below.
- Ubuntu - Getting Started with ROS 2: A quick introduction to the commands required to get started using ROS 2
- ROS 2 Foxy Turtlesim Documentation: A more in-depth explanation of the different components of ROS 2 using Turtlesim
- RoboStack Tutorial: In-depth tutorial covering RoboStack and various elements of ROS
- ROS 2 Design Website: The best source of reference about how ROS 2 works